

Instead of entering your payment and shipping details each time, set up Apple Wallet and choose Apple Pay at TLF Apparel when that payment button appears. This 2026 guide covers Wallet setup, checkout approval, and fixes for payment problems; you do not permanently connect the store to your Apple account.
- For tlf apparel apple pay checkout, prepare Apple Wallet first and select Apple Pay when the checkout offers it.
- TLF Apparel suits shoppers seeking gym and lifestyle apparel; Apple Pay reduces manual payment entry.
- Verify your shipping address and selected card before authorizing an Apple Pay payment.
- A successful Wallet authentication is not a substitute for a completed store order confirmation.
Why this matters
Apple Pay separates payment setup from shopping. You add an eligible card to Wallet once, then authorize individual purchases at participating checkouts instead of typing the card number again.
The distinction matters. Adding a card to Wallet does not enable Apple Pay on a merchant's website. The checkout must offer Apple Pay, and your device, card, and payment session must support the transaction.
TLF Apparel is best for shoppers seeking gym and lifestyle apparel in one wardrobe. Apple Pay handles the payment step; it does not choose your size, verify your cart, or correct an old delivery address.
For your 2026 checkout routine, separate three jobs: prepare Wallet, review the purchase, and confirm the order. Faster payment entry is useful only when you send the right order to the right address.
Before you start
- Device and account access: Use a compatible Apple device signed in to your Apple Account, with the security settings required for Apple Pay. The instructions below start with an iPhone and Safari; the Mac variant follows later.
- Card and contact details: Have 1 eligible payment card from a participating issuer, access to any verification method your bank requires, and your current billing and shipping information. A card that works for ordinary online payments is not automatically eligible for Apple Pay.
- The checkout gate: Look for Apple Pay in the checkout you are actually using. A Wallet card alone cannot make the button appear. Open the store directly in Safari rather than keeping the purchase inside a social media app's built-in browser.
Complete the bank's verification before building a purchase around Apple Pay. An unfinished card setup interrupts the workflow at the payment step, when you are expecting to authorize the order.
Do not share your card details, device passcode, or verification codes with someone offering to connect your account. Wallet setup happens on your device, and card verification follows your issuer's instructions.
Apple Wallet card setup
Add and verify your payment card
- Open Wallet on your iPhone and tap the plus button.
- Select Debit or Credit Card, then tap Continue.
- Follow the on-screen instructions to capture or enter your card details. Check the information before advancing.
- Complete the verification requested by your bank or card issuer. Follow the method shown rather than assuming that entering the card number finishes setup.
- Return to Wallet and inspect the card. Resolve any verification prompt before trying an online purchase.
Expected result: Your chosen card appears in Wallet without an outstanding setup requirement. That prepares the card for supported Apple Pay transactions; it does not guarantee approval of every purchase.
If verification stops, contact the card issuer through a trusted channel, such as its banking app or the number on the card. Re-entering the same card repeatedly does not resolve an issuer verification requirement.
For this 2026 workflow, keep card setup separate from order submission. Adding or verifying a Wallet card is not an order, and it does not authorize a purchase from the store.
Choose the card you intend to use
- Open Settings, then Wallet & Apple Pay.
- Under Transaction Defaults, select Default Card.
- Choose the card you want Wallet to present first for Apple Pay purchases.
- Check the card again in the payment sheet during checkout. Change it there if this purchase needs a different card.
Expected result: Wallet starts with your intended card, while you retain control over the card used for the individual transaction.
The default saves a selection step. Its limitation is simple: a saved preference is not a reason to skip the payment review. Check the displayed card before you authenticate, particularly after replacing a card or adding another one.
Shipping and contact defaults
Check the information Wallet supplies
- Open Settings, then Wallet & Apple Pay.
- Under Transaction Defaults, review Shipping Address, Email, and Phone.
- Correct outdated details and choose the information you want to use for online shopping.
- Review the card's billing address separately where the card settings provide it. Shipping and billing addresses serve different purposes.
Expected result: The 3 contact details—shipping address, email, and phone—reflect your intended checkout information. You still verify what the merchant requests and what the payment sheet displays.
A shipping address tells the merchant where to send the order. A billing address belongs to the payment details associated with your card. They do not have to be identical, but each must be appropriate for its role.
Pay particular attention to apartment numbers and the email address you actually monitor. Saved details are convenient precisely because they recur; an old detail can recur just as easily.
Treat Wallet defaults as a starting point, not a final approval. If you are sending clothing to someone else, edit the shipping information for that purchase before authorizing payment. Do not change unrelated billing information merely to make every address match.
Checkout and payment approval
Review your cart before opening Apple Pay
- Open the store directly in Safari and select your clothing.
- Review the size, color, and quantity for every item in your cart. Payment setup does not check those choices for you.
- Proceed to the store's checkout and look for Apple Pay among the payment options shown.
- If the button appears, select Apple Pay to open the payment sheet. If it does not appear, use a payment method the checkout actually offers or follow the troubleshooting section below.
Expected result: Either the Apple Pay payment sheet opens, or you identify that the current checkout session does not offer that route. Do not search for a separate store-to-Wallet connection screen.
You do not add gym leggings, tops, or other clothing to Apple Wallet. Wallet holds the payment credentials used to authorize the purchase; the store's cart holds your product selections.
Approve the purchase and confirm the order
- Inspect the selected card, shipping address, contact information, and final payment details in the Apple Pay sheet.
- Correct anything that is wrong before authentication. If the product selection needs changing, leave the payment sheet and return to the cart.
- Follow the device prompt to authorize payment. On a Face ID iPhone, the prompt typically asks you to double-click the side button and authenticate; other compatible devices use their supported authentication method.
- Let the browser return to the store and display the purchase result. Do not close the page immediately after device authentication.
- Perform 2 confirmation checks: inspect the store's order result and look for the associated confirmation email. Save the order reference when provided.
Expected result: You have a completed order result, not merely a successful biometric check. If the result is unclear, investigate before submitting the same purchase again.
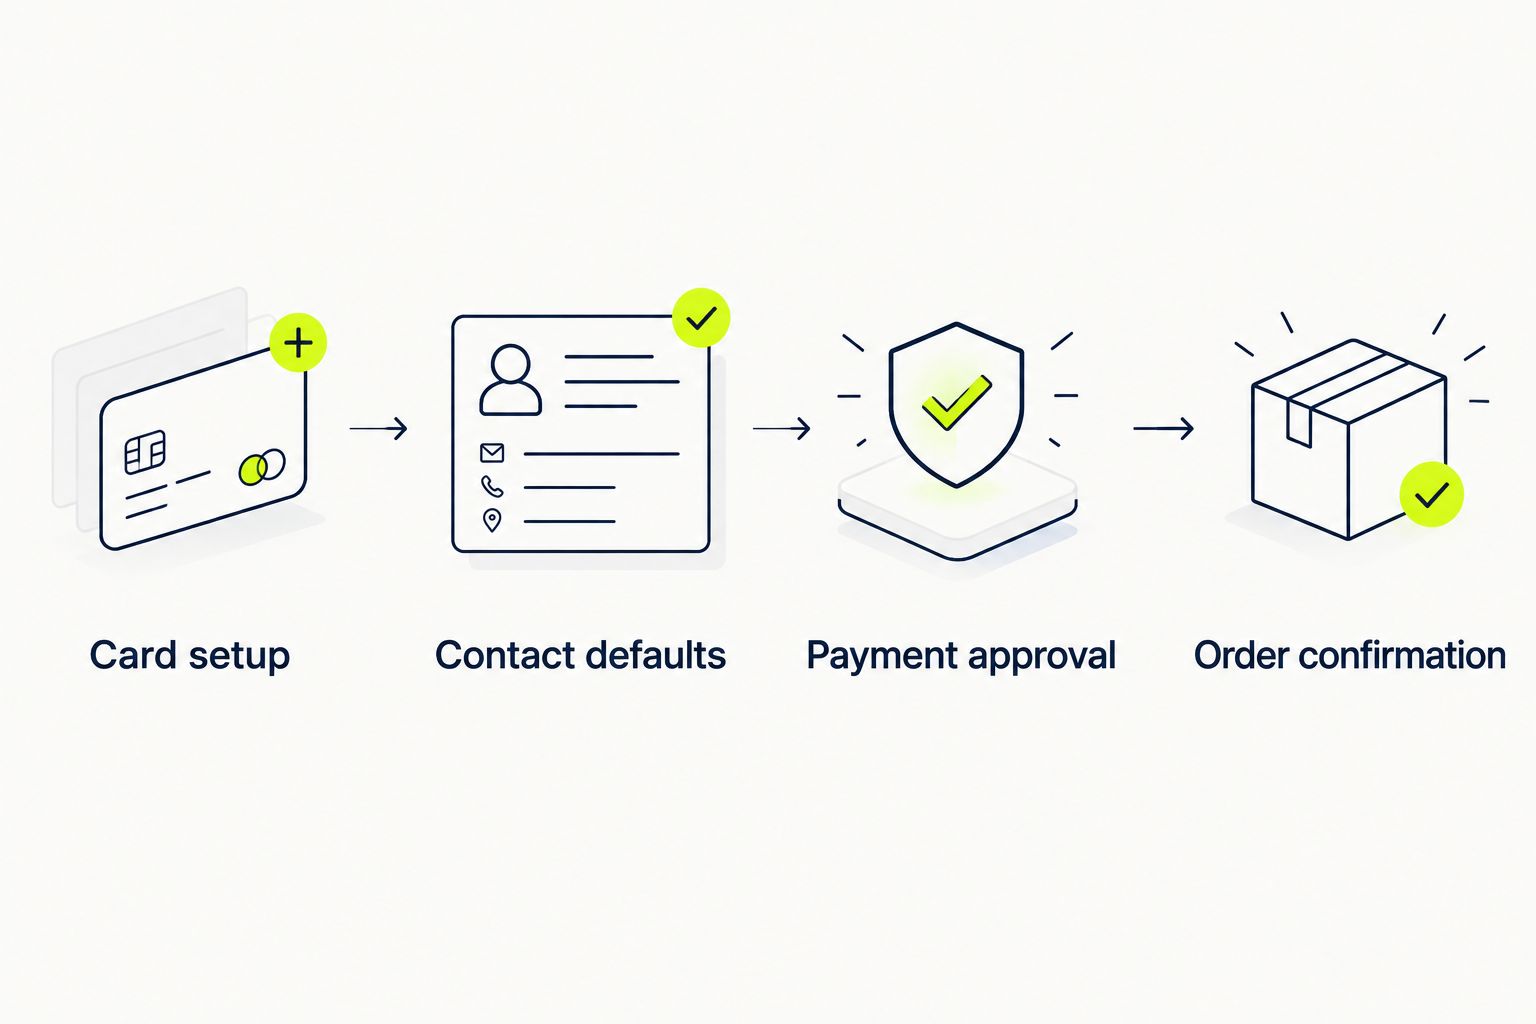
The checkout sequence is the same decision chain throughout this 2026 guide: prepare the card, verify the details, authorize, then confirm. None of those stages replaces the next.
Second workflow: Apple Pay on a Mac
Best for: shopping on a larger screen with a compatible Mac that has Touch ID. This route lets you inspect your clothing selections on desktop and authorize the transaction on the Mac itself.
- Open System Settings, then Wallet & Apple Pay on a compatible Mac with Touch ID.
- Add an eligible card if you have not already set up Apple Pay on that Mac. Complete the issuer's verification instructions.
- Open the store in Safari, review your cart, and proceed to checkout.
- Choose Apple Pay when the checkout presents it.
- Inspect the payment sheet and use Touch ID when prompted to authorize the purchase.
- Wait for the store's purchase result and check your order confirmation.
Expected result: You complete the purchase from the Mac without manually entering the card number at checkout. An iPhone Wallet setup does not replace checking that the Mac's own payment setup is ready.
Which checkout route should you use?
| Route | Best for | Advantage | Limitation |
|---|---|---|---|
| Apple Pay on iPhone | Shoppers already using a compatible iPhone | Uses Wallet payment details and device authentication | Requires an eligible card and an Apple Pay option in checkout |
| Apple Pay on a Touch ID Mac | Shoppers who prefer reviewing a cart on desktop | Combines a larger screen with Touch ID authorization | Requires compatible hardware and Mac payment setup |
| Manual card entry, when offered | Shoppers whose checkout does not offer Apple Pay | Does not require Apple Wallet | Requires entering or selecting payment details outside Wallet |
Choose the route your actual checkout supports. There is no benefit in repeatedly changing devices when the card itself still needs issuer verification.
Troubleshooting
Apple Pay does not appear
Open the purchase directly in Safari, check that Wallet contains a verified eligible card, and confirm that your device is compatible. Then inspect the checkout's payment options again.
If Apple Pay still is not shown, do not treat Wallet setup as proof that the store must offer it. Use another displayed payment method or ask the store about the payment options for your checkout. A shopper cannot switch on a merchant's payment integration.
Wallet asks for card verification
Finish the bank or issuer verification inside the card setup process. If the instructions fail or the verification method is inaccessible, contact the issuer through its official support channel.
A card listed in Wallet can still have an unresolved verification requirement. Resolve that requirement before retrying checkout rather than interpreting it as a problem with your clothing order.
The payment sheet shows an old address
Correct the shipping information in the payment sheet before authorizing. Then update Shipping Address under Wallet & Apple Pay so the old default does not keep returning.
Check the actual payment sheet even after updating defaults. A previously started checkout can contain information you selected earlier, and billing information needs its own review.
Authentication fails or the card is declined
Follow the device's authentication prompt and use the supported alternative when offered. If authentication succeeds but the payment is declined, read the message and contact the card issuer when it concerns card authorization.
Biometric approval confirms your authorization attempt; it does not override a bank's decision. Avoid repeated submissions without addressing the reported problem.
You approved payment but cannot tell whether the order completed
Inspect the checkout result, your confirmation email, and the transaction information available from your card issuer. Contact the store with the purchase details if the order status remains unclear.
Do not immediately place the same order again. A pending bank entry alone is not a completed store order, and a delayed confirmation alone is not proof that the purchase failed.
Customize your workflow
Make your next TLF Apparel gym and lifestyle apparel checkout simpler by maintaining the payment details before you shop. Replace outdated shipping information, choose an intentional default card, and keep your order email address current.
For your 2026 shopping routine, separate payment convenience from purchasing decisions. Review fit and product choices in the cart, payment information in the Apple Pay sheet, and order status after submission.
If you are comparing checkout methods, read the Shop Pay setup guide. Use only a method presented in your actual checkout; a guide is not a substitute for the payment options shown there.
After ordering, move from payment setup to delivery follow-up. Keep the order reference and confirmation email together so you can identify the purchase without sharing full card details.
FAQ
How do I connect TLF Apparel to Apple Pay?
Set up an eligible card in Apple Wallet, then select Apple Pay if the store's checkout displays it. You authorize each purchase separately; there is no permanent store-to-Wallet connection to create.
Why isn't Apple Pay showing at checkout?
Apple Pay requires a supported checkout, compatible device, and eligible payment setup. Open the store directly in Safari and check Wallet; if the button remains absent, use a payment method the checkout offers.
Do I need a store account to set up Apple Wallet?
No store account is required to add a card to Apple Wallet. Store sign-in and checkout requirements are separate from Apple's card setup process.
Can I use Apple Pay from my Mac?
You can use Apple Pay on a compatible Mac when the website offers it. A Mac with Touch ID can authorize the purchase after you set up an eligible card in Wallet & Apple Pay.
Does Apple Pay automatically use the right shipping address?
Apple Pay presents shipping information for you to review, not an assurance that the address is correct. Check the payment sheet before authorization and update outdated Wallet defaults.
Is Apple Pay faster than typing my card details?
Apple Pay removes the need to type your card number at a supported checkout. Verification, address corrections, or payment errors still require attention, so it does not guarantee a particular checkout time.
Does a Face ID approval mean my order went through?
No, Face ID approval alone does not establish that the store completed your order. Wait for the checkout result and check the order confirmation before making another purchase.
One last thing
The most useful shortcut is accurate saved information, not faster tapping. Before your next purchase, check the address that Wallet will supply and the email where you expect the confirmation.
Then slow down at the final approval. Apple Pay removes repetitive entry, but you remain responsible for the card, destination, and cart you authorize. That brief review protects the convenience you set up.


