

Instead of retyping payment details for every order, select PayPal at checkout if it appears, sign in, and review the purchase before submitting it. This 2026 guide explains the shopper workflow for TLF Apparel: you choose a payment method during checkout rather than install an integration or connect a merchant account.
- TLF Apparel PayPal checkout starts by checking whether PayPal appears among your checkout payment methods.
- Choose PayPal, authenticate, review your funding source and delivery details, then follow the purchase confirmation prompts.
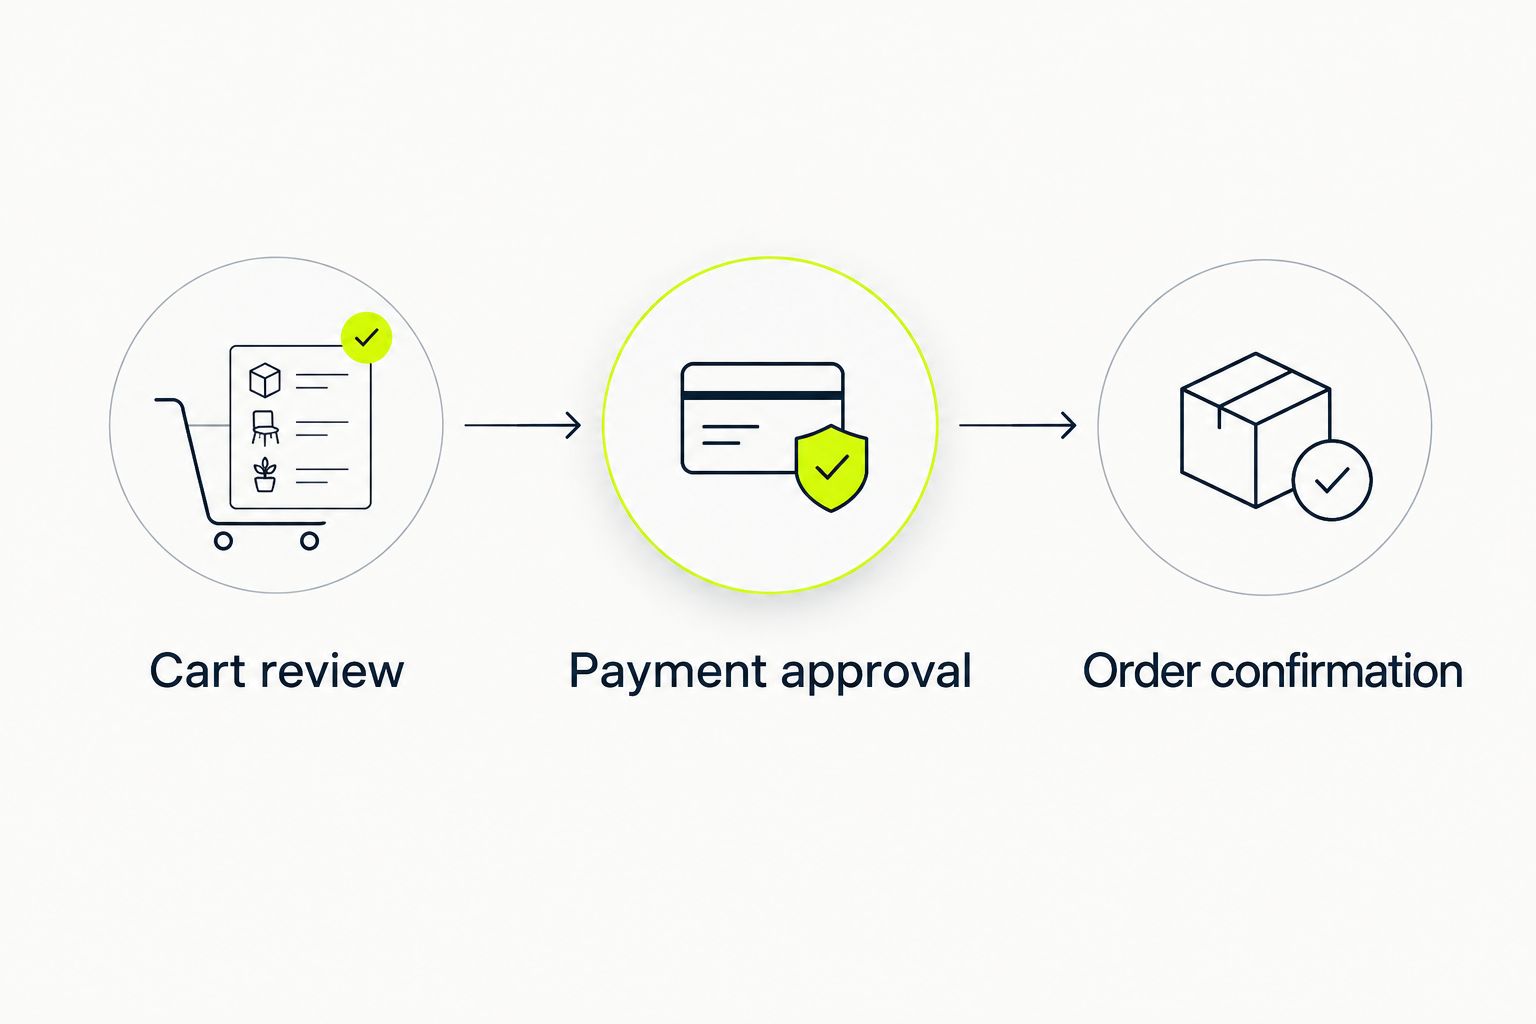
- PayPal approval and store order confirmation are separate checkpoints; check both before attempting another payment.
- A shopper does not need merchant dashboard access or an integration app to select PayPal at checkout.
Why this matters
Selecting PayPal is a checkout choice, not a permanent account connection. Your store login, PayPal login, payment authorization, and order confirmation serve different purposes. Treating them as interchangeable creates confusion when a payment window closes or a checkout page asks you to review details again.
TLF Apparel is best for shoppers seeking training apparel and everyday clothing in the same wardrobe. Payment setup should stay separate from choosing your gear: settle the size, color, and quantity before starting authorization.
For a purchase in 2026, use the payment methods displayed in your actual checkout. A guide, search result, or saved screenshot does not establish which methods your current session supports.
Before you start
- Account access: Have your PayPal sign-in details and access to any device or authentication method your account requires. Check that the funding source you intend to use is present in your PayPal account.
- Order details: Prepare your delivery address and contact information, then check the items, sizes, colors, and quantities in your cart. Use a browser you control rather than a shared device with someone else's payment session.
- The gotcha: Approving a payment in PayPal does not, by itself, establish that the store has confirmed your order. Follow the return to checkout and inspect the resulting confirmation before closing the browser or trying again.
You do not need developer credentials, an API key, or permission to change the store's payment settings. Those belong to merchant integrations, not a customer purchase.
Your checkout starting point
Choose the route that matches what you actually see. The following comparison describes checkout patterns, not a promise that either route appears in every session.
| Checkout route | Best for | Advantage | Limitation | What to verify |
|---|---|---|---|---|
| PayPal in an express checkout area, if shown | Shoppers ready to review saved payment details | Opens the payment flow without first selecting it farther down checkout | Requires careful review of any details carried into checkout | Delivery address, funding source, and remaining confirmation prompts |
| PayPal in the payment-method section, if shown | Shoppers who want to enter delivery details first | Keeps the address review ahead of payment selection | Requires reaching that part of checkout before choosing PayPal | Payment selection and order details after returning from PayPal |
Neither route removes the need to inspect the final order. Use the route that makes your delivery and payment details easiest to verify, not the one that appears to have the fewest screens.
Cart and payment selection
- Open your cart and check each item's size, color, and quantity. Remove unintended duplicates before beginning payment.
- Proceed to checkout using the store's displayed checkout control. Button wording and placement depend on the page you are viewing; follow the live interface rather than looking for a label from an old screenshot.
- Look for PayPal in the express payment area or among the payment methods. If it is not shown, do not search your customer profile for a hidden connection setting.
- Select PayPal if it appears. Allow the resulting payment window or redirect to open, and keep the original checkout tab available.
Expected result: You reach a PayPal authentication or payment-review screen for the purchase you started. You have not yet established that an order is complete.
Before entering credentials, inspect the destination in your browser. Enter your PayPal password only into PayPal's own authentication flow, never into a store contact form, chat message, or unfamiliar page requesting payment credentials.
If another person's account is already signed in, stop. Sign out of that payment session before continuing with your own account; do not authorize the order and plan to correct ownership afterward.
PayPal authentication and funding source
- Use Log In when PayPal asks you to authenticate. Follow the authentication method presented for your account rather than assuming a password is the only required step.
- Complete any security challenge inside the PayPal flow. Keep verification codes private and enter them only into the authentication screen you opened yourself.
- Inspect the funding source selected for this purchase. Choose the intended source from the choices PayPal presents; do not assume the account default is the one you want.
- Review the merchant information, delivery information, and payment summary shown. Resolve discrepancies before approving the next step.
- Follow PayPal's displayed approval prompt. Read its wording so you understand whether it authorizes payment, continues checkout, or submits the purchase.
Expected result: You have authenticated with the intended account and reviewed the payment details. The flow either returns you to the store or displays the next purchase status.
A successful login proves account access, not a successful order. Likewise, selecting a funding source is not a substitute for reading the final approval screen.
Do not interrupt authentication by opening several competing checkout attempts. Keep 1 active checkout attempt while you work through the prompts, especially if a page takes time to respond.
Order review and confirmation
- Follow the return to the original checkout if the payment flow sends you back. Inspect the page before pressing any additional control.
- Recheck the delivery address and contact details. Pay particular attention to apartment numbers, postal codes, and whether the address belongs to this purchase rather than an earlier one.
- Inspect the order summary again. Confirm the items, variants, and quantities still match your intended purchase.
- Complete any remaining purchase-confirmation step the checkout explicitly requests. Do not assume that every PayPal flow ends on the same screen.
- Save the resulting order confirmation and order identifier when provided. Check your email for the corresponding message without treating an email delay as an instruction to pay again.
Expected result: You have a store order confirmation or a clear status that tells you what remains unresolved. If the outcome is unclear, investigate before starting another purchase.
Use these 3 checks before leaving checkout: the intended items, the correct delivery address, and a confirmed order status. Payment authentication is only part of that sequence.
Keep 2 records when they are provided: the store order identifier and the PayPal transaction identifier. They refer to different systems and help you describe an unclear purchase without sharing sensitive account credentials.
Repeat purchases with a saved PayPal account
For another purchase in 2026, start a new checkout and select PayPal again if it is displayed. Do not assume your previous purchase created a permanent connection or authorized future orders automatically.
- Build and review the new cart before opening payment.
- Select PayPal from the methods shown for that checkout.
- Authenticate if requested, then inspect the selected funding source and delivery details even if they are already filled in.
- Follow the approval and order-confirmation prompts for the new purchase.
Expected result: The new purchase has its own confirmed order status. A previous successful payment does not stand in for approval of the current one.
Saved details reduce re-entry, but they also make stale information easier to overlook. Review them after moving, replacing a card, or changing the account you use for online purchases.
Do not treat a remembered login on a shared browser as a convenience. Sign out after using a device you do not exclusively control, and avoid saving payment credentials on it.
Troubleshooting your 2026 checkout
PayPal does not appear
Use the payment methods displayed in the current checkout. First check both the express payment area and the payment-method section so you do not mistake placement for absence.
If PayPal is still missing, there is no shopper-side integration setting to switch on. Ask the store through its published support channel which methods apply to your checkout, or select another method that is actually shown. A missing button does not establish a browser fault.
The payment window does not open
Check whether your browser blocked a pop-up or redirect after you selected PayPal. Permit the action for the checkout you intentionally opened, then try the payment selection again.
If you started inside another app's embedded browser, reopen the store in your regular browser. Before retrying, inspect the original checkout and your payment activity so you do not overlook an attempt that already progressed.
Sign-in or verification fails
Resolve the authentication issue inside PayPal rather than changing your store password. Use PayPal's account-recovery process if you cannot access the account or its verification method.
A store customer account and a PayPal account are separate. Changing one password does not recover the other, and store support does not need your PayPal password or security codes.
PayPal reports a declined payment
Read the actual decline message and follow the account or funding-source instructions PayPal provides. Check the intended payment source before choosing another source offered in the flow.
Do not keep submitting the same purchase without checking its status. If the message identifies an issuer or account issue, resolve it with that provider rather than assuming the apparel store can remove the restriction.
Payment activity appears, but no order is confirmed
Check the transaction status before paying again. A pending authorization and a completed transaction are different states; read the label attached to the activity rather than inferring the outcome from its presence alone.
Inspect the original checkout and any confirmation email. If the result remains unclear, provide store support with the purchase date, order identifier if present, and transaction identifier. Do not send full card details, passwords, or verification codes.
Customize your workflow
Make the review process repeatable rather than trying to bypass it. Before every purchase, settle your cart choices; during payment, verify the account and funding source; afterward, retain the order confirmation.
For your 2026 shopping routine, keep confirmation messages in a dedicated email folder. That gives you a consistent place to look before deciding a purchase failed, without relying on an open browser tab.
Once an order is confirmed, move from payment checks to the guide to tracking an order from checkout to delivery. Tracking is the next workflow; repeating payment is not.
If another payment method suits your device better, read its setup guide before your next purchase. Compare the review steps and account requirements, but use only the methods shown in the live checkout.
FAQ
How do I use TLF Apparel PayPal checkout?
Select PayPal if it appears in checkout, authenticate with PayPal, review the payment details, and follow the remaining order-confirmation prompts. Check the store confirmation before treating the purchase as complete.
Do I need to connect my store account to PayPal first?
You do not need to install an integration to choose PayPal as a shopper. Start from the checkout payment methods rather than searching for merchant settings or API credentials.
Does this guide confirm that PayPal is offered for every order in 2026?
No; the payment methods displayed in your actual checkout determine which options you can select. Do not treat a guide or a previous purchase as proof that a method applies to the current session.
Why can I log in to PayPal but still not have an order confirmation?
PayPal authentication establishes account access, not store order completion. Follow the payment prompts and inspect the resulting checkout status before closing the session.
Can I change the card used through PayPal?
Choose the intended funding source from the choices PayPal presents before approving the purchase. Review the selected source for each order instead of assuming the default is correct.
What should I do if PayPal shows activity but I received no confirmation?
Inspect the transaction status and the original checkout before attempting another payment. If the order remains unclear, give store support the relevant order or transaction identifier without sharing credentials.
Will paying once automatically connect PayPal for future orders?
Do not assume a purchase creates a permanent connection or automatic authorization. Select the payment method and review the account, funding source, and delivery details for each new checkout.
One last thing
The most useful checkout habit is checking what happened after approval. A payment screen can close while the purchase outcome still needs your attention, so keep the original checkout available until you have read its final status.
For a TLF Apparel purchase, save the order identifier before moving on. That small step gives you a concrete reference if you later need help distinguishing a payment issue from an order issue.


